Deploying BizTalk samples
- 22 Aug 2023
- 3 Minutes to read
- Print
- DarkLight
- Download PDF
Deploying BizTalk samples
- Updated on 22 Aug 2023
- 3 Minutes to read
- Print
- DarkLight
- Download PDF
Article summary
Did you find this summary helpful?
Thank you for your feedback!
As part of the Atomic Scope product SDK, out of the box we ship the sample BizTalk solution to help customers get started quickly.
Note: Installing these samples is optional and we recommend installing them only on development and test environments.
This article will elaborate on the BizTalk samples and how to get started with them. To know how to install Atomic Scope, refer the Atomic Scope Installation section.
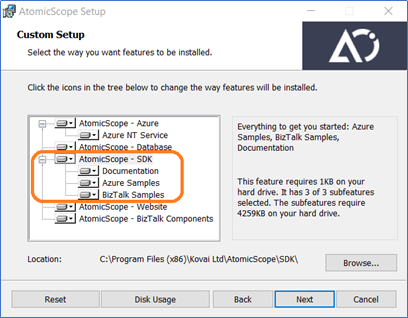
SDK Folder
Once the SDK is installed on a BizTalk development machine, the following folders will have the artifacts that are necessary to get started. By default, the installation location is C:\Program Files (x86)\Kovai Ltd\AtomicScope. In this article, this location is referred as Atomic Scope installation folder.
- AtomicScope Installation Folder\SDK\Samples\BizTalk\Source - In this folder location, you will have the BizTalk sample solution.
- AtomicScope Installation Folder\SDK\Samples\BizTalk\MSI - If you want to deploy BizTalk sample application using an MSI instead of source code, then you will have to use the MSI’s present in this folder
- AtomicScope Installation Folder>\SDK\Samples\Configuration - This folder has Atomic Scope configuration files to create Sample Business process for BizTalk only and Hybrid scenarios.
- AtomicScope Installation Folder>\SDK\Samples\Test Locations - This folder location contains the sample test files and file drop locations.
Deploying BizTalk Sample applications
The folder location

- AtomicScope-1.0.0.msi - This deploys Atomic Scope property schema into BizTalk application called Atomic Scope.
- Note: You do not have to use this MSI as property schema will be deployed as part of Atomic Scope installation
- AtomicScope.Samples-1.0.0.msi - This deploys the BizTalk artefacts and bindings needed to test messaging and orchestration scenarios.
- AtomicScope.Samples.EDI- 1.0.0.msi - This deploys the BizTalk artefacts and bindings needed to test messaging and orchestration scenarios.
Installing AtomicScope Samples
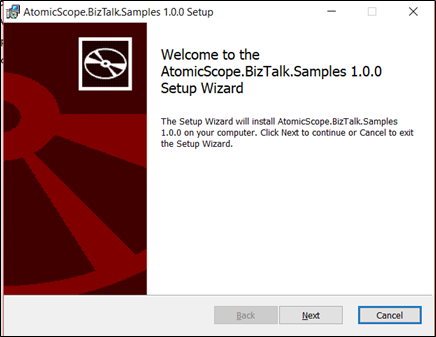
Double click on the AtomicScope.Samples.1.0.0.msi file to launch the installation wizard.
Click Next and accept the license agreement
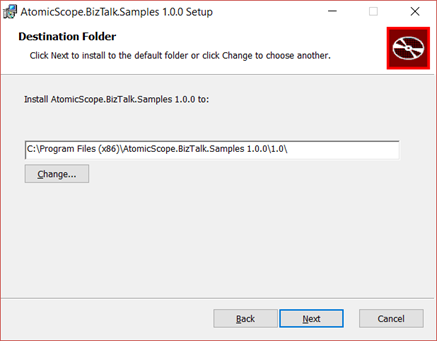
Select the installation folder and click Next.
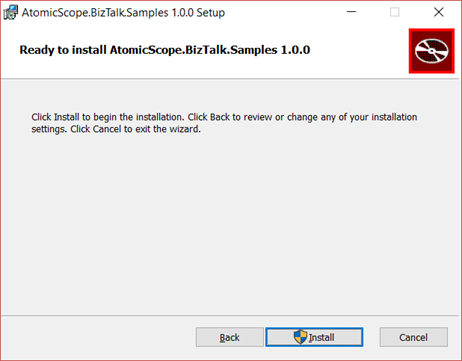
Click install to continue with the installation.
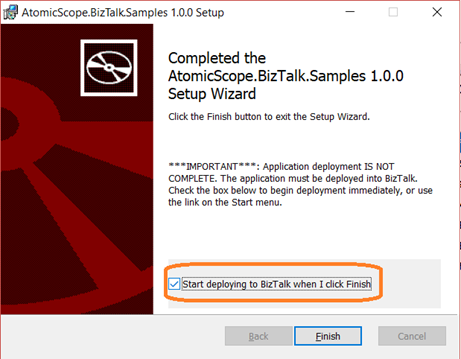
Once the installation is complete, select the option “Start deploying to BizTalk when I click Finish” to deploy the application to BizTalk Management DB.
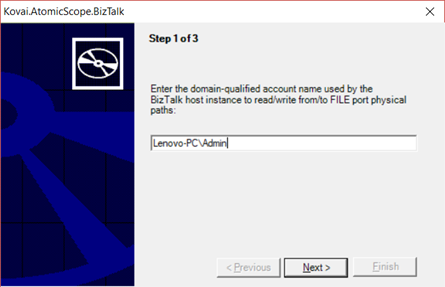
During the deployment, enter the FILE adapter host username in the text box as shown in the below image and click Next.
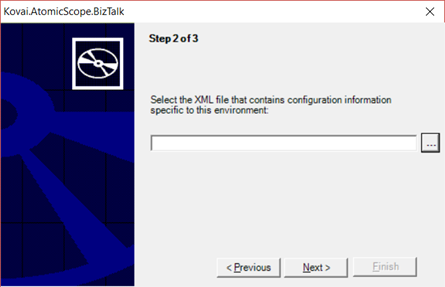
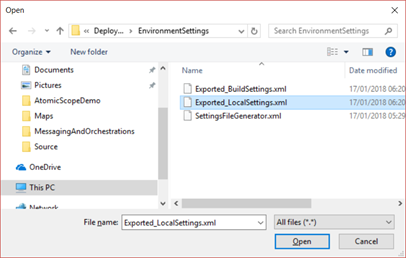
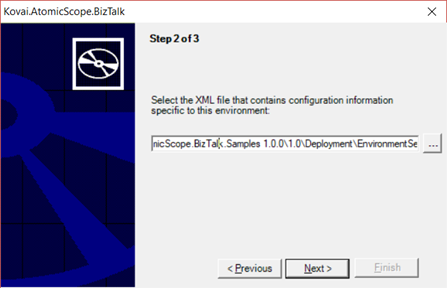
Select the Exported_LocalSettings.xml as configuration. This configuration file is available in the Environment Settings folder under MSI installation directory. Click Next.
Select “This is the LAST server in the BizTalk Group” option and click Finish.
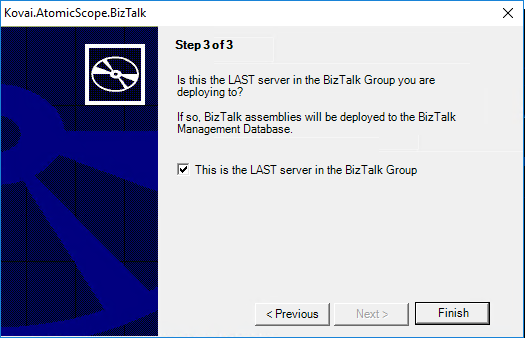
Note: If your test environment is a multi-server environment, then you can select the option - only in one of the BizTalk servers.
Once the deployment is complete, you can see the status as shown in the image.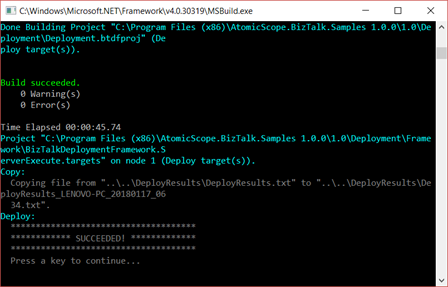
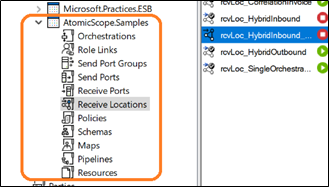
Once the deployment is complete, you will see the AtomicScope.Sample application being deployed in the Admin Console.
Installing BizTalk EDI Samples
Note: To test EDI Scenarios, you must have SQL Server with Integration Services installed. You must enable it from SQL Server installation window. Refer Screenshot in the installation pre-requisites section.
This sample application contains few EDI scenarios. You need to ensure that your BizTalk environment is configured for EDI before installing this MSI. To know how to configure EDI for BizTalk, refer the article in this link.
Double click on the AtomicScope.Samples.EDI-1.0.0.msi to launch the installation wizard. Repeat all the steps mentioned from the Installing AtomicScope.Samples section.
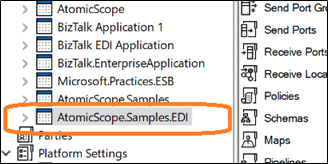
Once the deployment is complete, you will see the AtomicScope.Samples.EDI in BizTalk Admin Console.
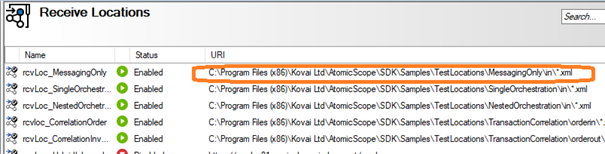
Note: BizTalk Sample receive locations and send ports are configured to default Atomic Scope installation directory which is C:\Program Files (x86)\Kovai Ltd\AtomicScope\SDK\Samples\TestLocations as shown below.
- If you have chosen to custom install Atomic Scope (refer the Install Atomic Scope Core Features section) in a different directory you need to manually update the Port Bindings file for the port locations.
- To update the Port Bindings file, navigate to Atomic Scope Install Directory\Kovai Ltd\AtomicScope\SDK\Samples\BizTalk\Source\MessagingAndOrchestrations\Deployment.
- There you will find the PortBindings.xml file. Open it in any code editor or Notepad++. Use Find and Replace to change the Default location to the
\Kovai Ltd\Atomic Scope SDK\Samples\TestLocations - E.g.: Default location is – C:\Program Files(x86)\Kovai Ltd\Atomic Scope\
You need to search for the default value and change it as per your installation. If you have installed it in D:\Softwares, after changing the bindings it will look like this D:\Softwares\Kovai Ltd\AtomicScope\SDK\Samples\TestLocations
Note: Don’t change the full path of the bindings. Only change it till the root directory of TestLocations.
After changing the bindings, you need to import it in BizTalk Administration Console.
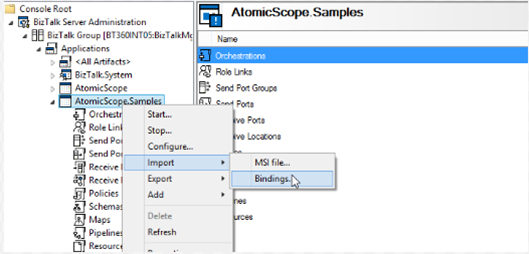
Open BizTalk Server Administration Console
Navigate to Applications – AtomicScope.Samples - Right Click – Import – Bindings and choose the PortBindings.xml file and click on OK button.
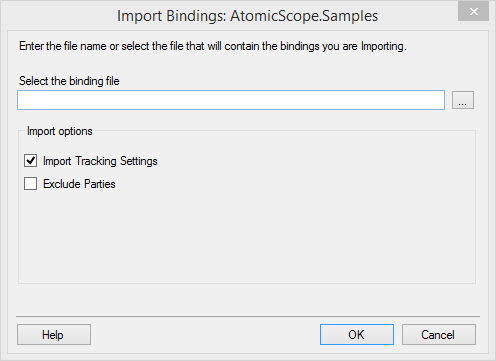
Now the bindings for all the ports will be updated.
Was this article helpful?