- 12 Jul 2021
- 1 Minute to read
- Print
- DarkLight
- PDF
Upgrading
- Updated on 12 Jul 2021
- 1 Minute to read
- Print
- DarkLight
- PDF
Steps involved in upgrading Atomic Scope
Before upgrading Atomic Scope make sure of deactivating the existing license. The steps to deactivate the license can be referred here.
And also ensure to backup your existing database.
After completing the above steps you can continue to upgrade Atomic Scope.
Download the Atomic Scope installer MSI package.
Open a Command Prompt with Administrator access. Navigate to the folder where you have the installer package.
Type the entire file name with the extension ".msi". This will open the Atomic Scope installer.
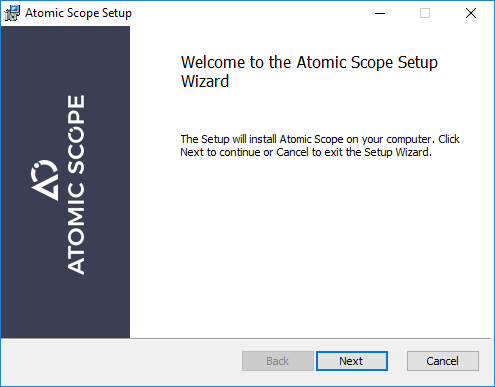
- Click Next and accept the License Agreement.
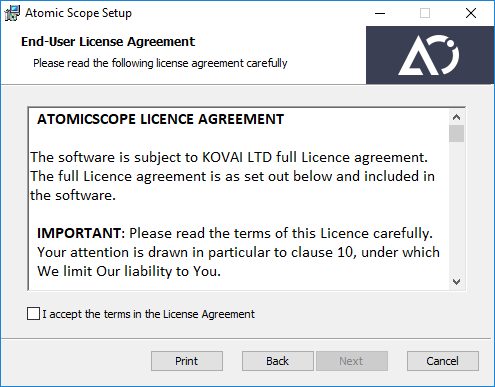
- Click Next. You will see the prerequisites check screen. This step will validate all the installation requirements.
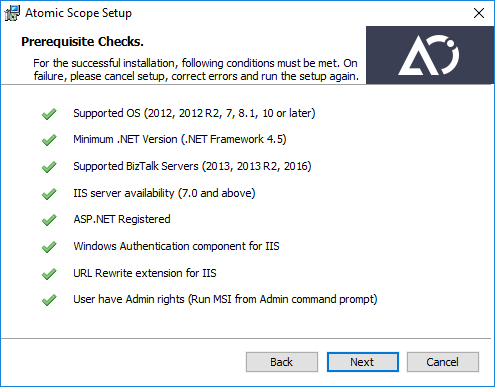
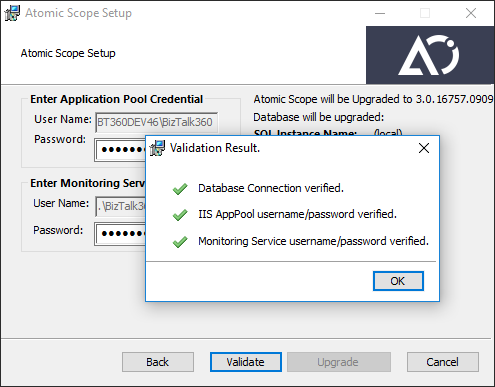
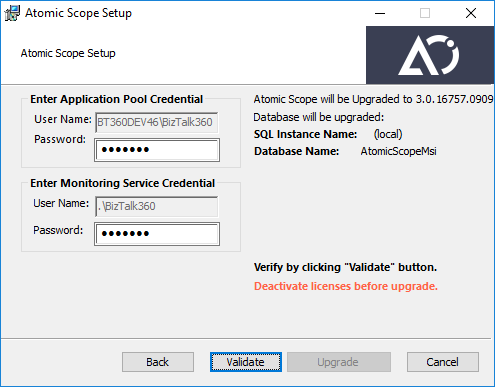
- Click Next. You need to provide the necessary credentials for application pool and monitoring service.
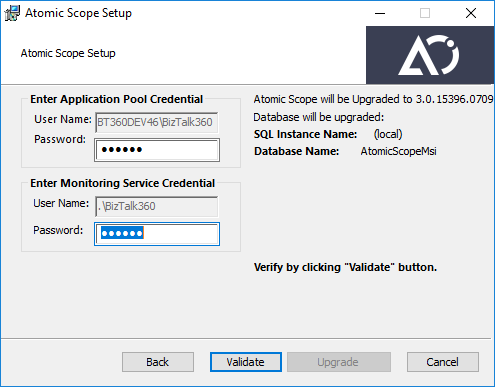
- Click Validate . It will validate that the given credentials are true, if it is true a pop up message will be shown and it also checks whether the license have been deactivated or not. If not it will prompt you a message to deactivate it. Deactivate the license and click validate again.
- Click Upgrade. The installer will start upgrading the existing services and features. If there are any errors, you can click the View installation Log checkbox at the end of the upgrade. You can share the log files with us to help you to solve the problem.
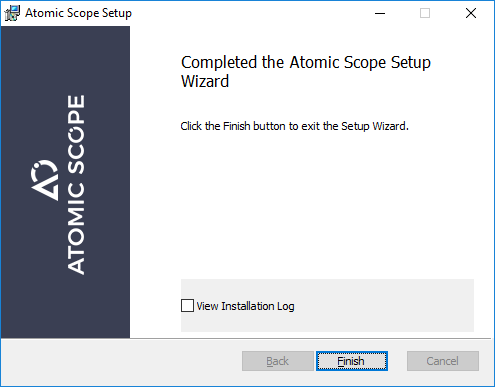
- Click Finish to launch the Atomic Scope portal.
Upgrading Atomic Scope Components
The BizTalk Components will be automatically upgraded by the installer. To update the azure components you have to deploy the azure resources on the previously deployed resource group with the same resource names. The steps to deploy the resources can be referred here.

